Department: Surface Testing

Gradient Oven Model 432-SMART

The Model 432 Smart II Gradient oven is used to evaluate the baking and drying behavior of paint and powder coatings, resins, plastics, and similar materials. It can simulate a production process by programming the warm-up rate, burn-in temperature, and time intervals. It allows predictions of how a particular paint reacts to a particular material at different temperatures. The excellent repeatability of the measurements allows a remarkably accurate determination of the actual limit values. Coatings can be tested up to a temperature of 320 °C. If the lacquers are applied with a double doctor blade, two different lacquers can be tested simultaneously on one test sheet.

Purpose and application: Acid rain, bird droppings, fuel, antifreeze and many other environmental factors can damage automotive finishes. Especially in summertime, some substances can be very aggressive 

and cause severe damage. Therefore, automotive paint manufacturers as well as auto makers need to find out how different environmental phenomena will interact with a coating system.

For the development of stove enamel systems as well as for their quality testing it is of great importance to assess the temperature range and the max. temperature limit, respectively, where the components of the lacquer formulations (and thus also potentially the properties and the quality of the whole thing) begin to change. The well-known main example for this are the yellowing of binding agents as well as the change in color of pigments

Concerning the subject of baked coatings within industrial production conditions, the accurate control of the corresponding processes is of crucial importance to achieve and continuously maintain/ guarantee the specified qualitative characteristics of the coating. Due to different reasons, the actually existing conditions do not always correspond exactly to the preset process run which in the worst case“ may cause severely high non-conformity costs.

The Gradient-oven 432 Smart offers the possibility of a needs-based optimizing of the process for the product in question.

The „actual condition“ in the stove enameling production line, beforehand determined by means of an oven temperature recorder, can be simulated at the best via a requirement-orientated setting of an appropriate gradient and thus allows a nearly perfect 1:1 simulation of the respective stoving condition, however on the desired laboratory scale saving time and expenses.


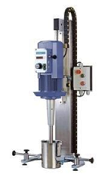
Laboratory High Speed Stirrer DISSOLVER 492

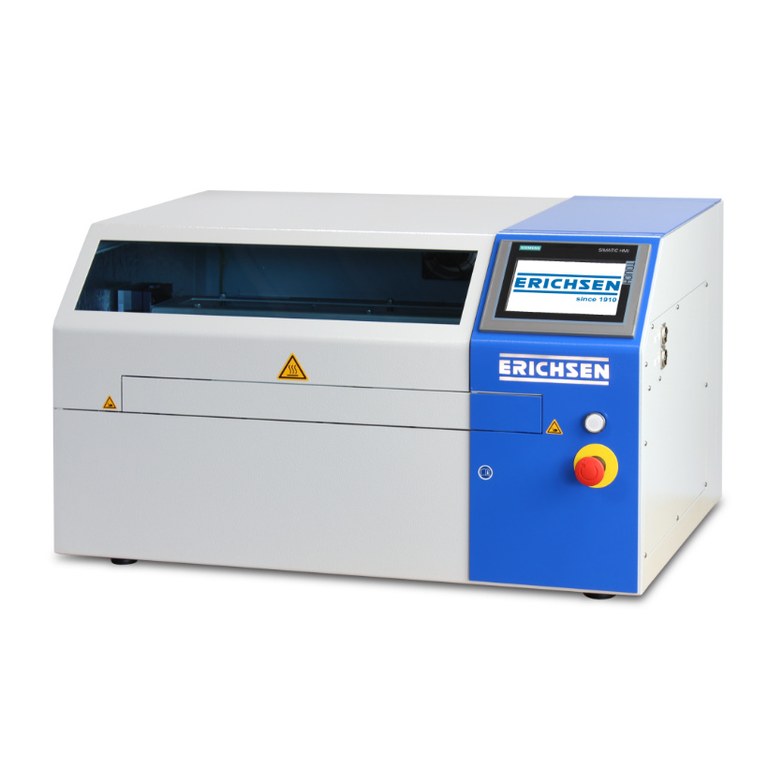
The precisely controlled laboratory high speed stirrers of the DISSOLVER and DISCOVERY 492 series are suitable to produce colloidal suspensions with very fine solid particles integrated by high speed into fluid, as well as for mixing and dispersing of mill feed material within common paint/lacquer matters (disintegration of clusters of powder-type components by shearing force during the dispersing procedure, to cover in ideal case their primary particles with the fluid phase).  Available in varying speeds, dispersing disc sizes and accessories. 

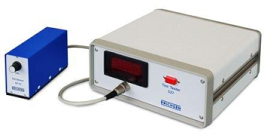
TINT TESTER 527

The TINT TESTER 527, has been developed especially for brightness measurement of dark, uncured coatings such as paste pigment applications on flat surfaces, to determine the tinting strength according to ASTM D 3265 and ASTM D 2745. Besides this special application, the instrument can also be used as a standard reflection photometer to measure the brightness of solid substrates (coatings, paper, plastics, etc.) according to ASTM E 97.

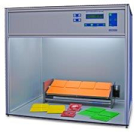
MATCHMASTER 425 MC

Microprocessor controlled color comparison cabinet. Automatic operation based on manually preset program sequences. 3 types of illuminants: A, D65 and TL84. Facility for adding UV light to clarify response to the fluorescent effect. Control panel with foil pad keyboard and LCD. Display of operating hours and number of switching cycles for each light source. Accessories: Pivoting specimen table, light diffuser.

Glossmeters- Models 560MC-X, 560MC-XS, 562 & 503

1-angle, 2-angle and 3-angle, 60°, 20° and 60°, 20° and 60° and 85°, portable.

Model 560 versions are single angle of 60 degree geometry and in acc. to ASTM D 523, DIN 67530, EN ISO 2813 and  ISO 7668.  The MC-XS capable for measurements on small specimens (3mm aperture).

Model 562 is a two angled version of 20 and 60 degree measuring geometry; in acc. to ASTM D 523, DIN 67530, EN ISO 2813 and  ISO 7668

Model 503 is a three angled version of 20, 60 and 85 degree measuring geometry; in acc. to ISO 2813, ISO 7668, ASTM D 523, ASTM D 2457, DIN 67530, JIS Z8741

Glossmeter Facility ONLINE Model 507

2 optional angles, separately, 20° + 60°, can be individually positioned

GLOSSMASTER ONLINE 507-60°

Now, more than ever, it is very important to achieve a consistent surface quality during the production and processing of surface-treated materials (such as papers, plastics, metal or wood surfaces). A uniform and defined surface quality must be ensured in almost all industrial segments. Variations in glossiness can result from manufacturing defects, supplier changes and material fluctuations. Often, these lead to complaints in quality control or even rejection of the material. Especially in recent years due to increasing demands of customers, it is particularly important to be able to make a flawless, objective assessment of the gloss. In acc. to EN ISO 2813, DIN 67 530, ISO 7668, ASTM D 523.  (Version 507-60A available with automatic calibration)

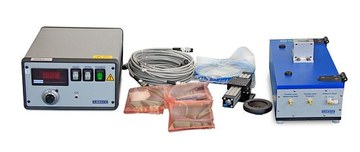
Kempf Chalking Tester 241

Damp photographic paper is pressed by a rubber pad under defined force onto the film surface in accordance with DIN 53 159. Evaluation of chalking mark by comparison with sample scale.

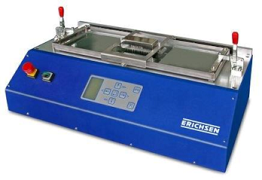
Washability and Scrubbability Tester 494MC

Operation via keyboard and display adjustable stroke rate and stroke path Parameter storage for 20 test cycles up to 3 tests simultaneously.  For the assessment of the washing and scrubbing resistance as well as cleanability of dispersion paints (specifically ”wall paints”)., The wide range of its adjustable parameters allows also some further tailored/customized testing matters (for example for testing cleaning agents/solutions, etc.) as well. In the above standard applications a matt black PVC foil will be coated, and – if required – soiled in a defined manner. After clamping into the device it will be exposed under the influence of a washing liquid the stress of the moving scrub body.DIN 53 778-2 ASTM D 2486 DIN EN ISO 11998

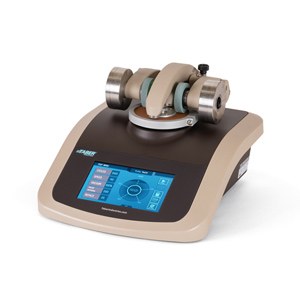
Original Taber Abraser 352

The TABER® ABRASER 352 D (Platform), with its attractive and modern design, is a robust tabletop unit. The precise control and drive elements are located in a sturdy aluminum housing. Easy operation is via LCD touch screen, with functions such as abraser status, visual reference of completed test, cycle/time switching (completed or remaining), programmable pause interval, language selection and much more. The TABER® ABRASER Model 352 D (Type 1750) has two specimen holders for performing abrasion tests.

Purpose and application: Resistance to abrasion is one of the most important mechanical properties of surfaces. Among the methods used to test abrasion resistance, working with this unit is the most common and widely used method. Numerous national and international standards make explicit reference to this test instrument. The Original TABER® ABRASER can be used to perform abrasion tests on paintwork and other coatings, such as rubber, paper, leather, ceramics, textile fabrics and metals. This device is used in research and development as well as in production and quality control.

Principle of the test: The abrasion is caused by two friction rollers which act with a defined force on the rotating specimen holder to which the specimen is attached. An essential feature of these abrasion tests is the X-shaped grid.  In acc. to EN 13329, NEMA LD 3-2000, EN 438-2, ISO 4586-2, NALFA LF-01

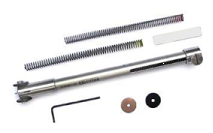
Mar Tester 435 & 435S

Pocket instrument for scratch resistance (mar resistance) of painted or plastic surfaces. Test body (plastic, copper or steel disc) is applied with a pre-set force and drawn across the test surface. Spring force 0 – 20 N divided into 3 measuring ranges.  (Model 435S for adhesion testing)